DESIGN & CONTENT
Rocketspark's easy-peasy homepage guide
Hey there,
So you're diving into the world of website creation? Awesome! We're stoked you're here. We're Jeremy and Carlos—here to help you get a stunning homepage. You're not alone! 🤝
So, grab a comfy seat and let's get into it. We've cooked up this handy guide to help you smash out an epic homepage. It's the first impression that counts, right? And we want you to nail it. 🎯
Happy designing!
Carlos & Jeremy 🤙

🎨 The building blocks:
Your logo, colours and template
Adding a logo
Sizing and quality: Already have a logo? Sweet! Rocketspark makes it a breeze to add and resize your logo. Make sure it's not too tiny or taking up too much space. Aim for high resolution to keep it crisp.
No logo, no problem: Starting from scratch? Let us matchmake you with a designer who can capture your brand's essence in a memorable logo.
Coach Carlos says: Not sure if you need a logo? Check this post out.

Colours 101
No brand colours yet? Keep it simple! Pick light backgrounds and dark text for readability. Add small pops of colour for accents. Colour can also come from pictures.
Brand colours already picked? Plop your colours into Rocketspark, and you can use 'em throughout your site, easy as!
Coach Carlos says: Give it a go with our saved brand colours guide.
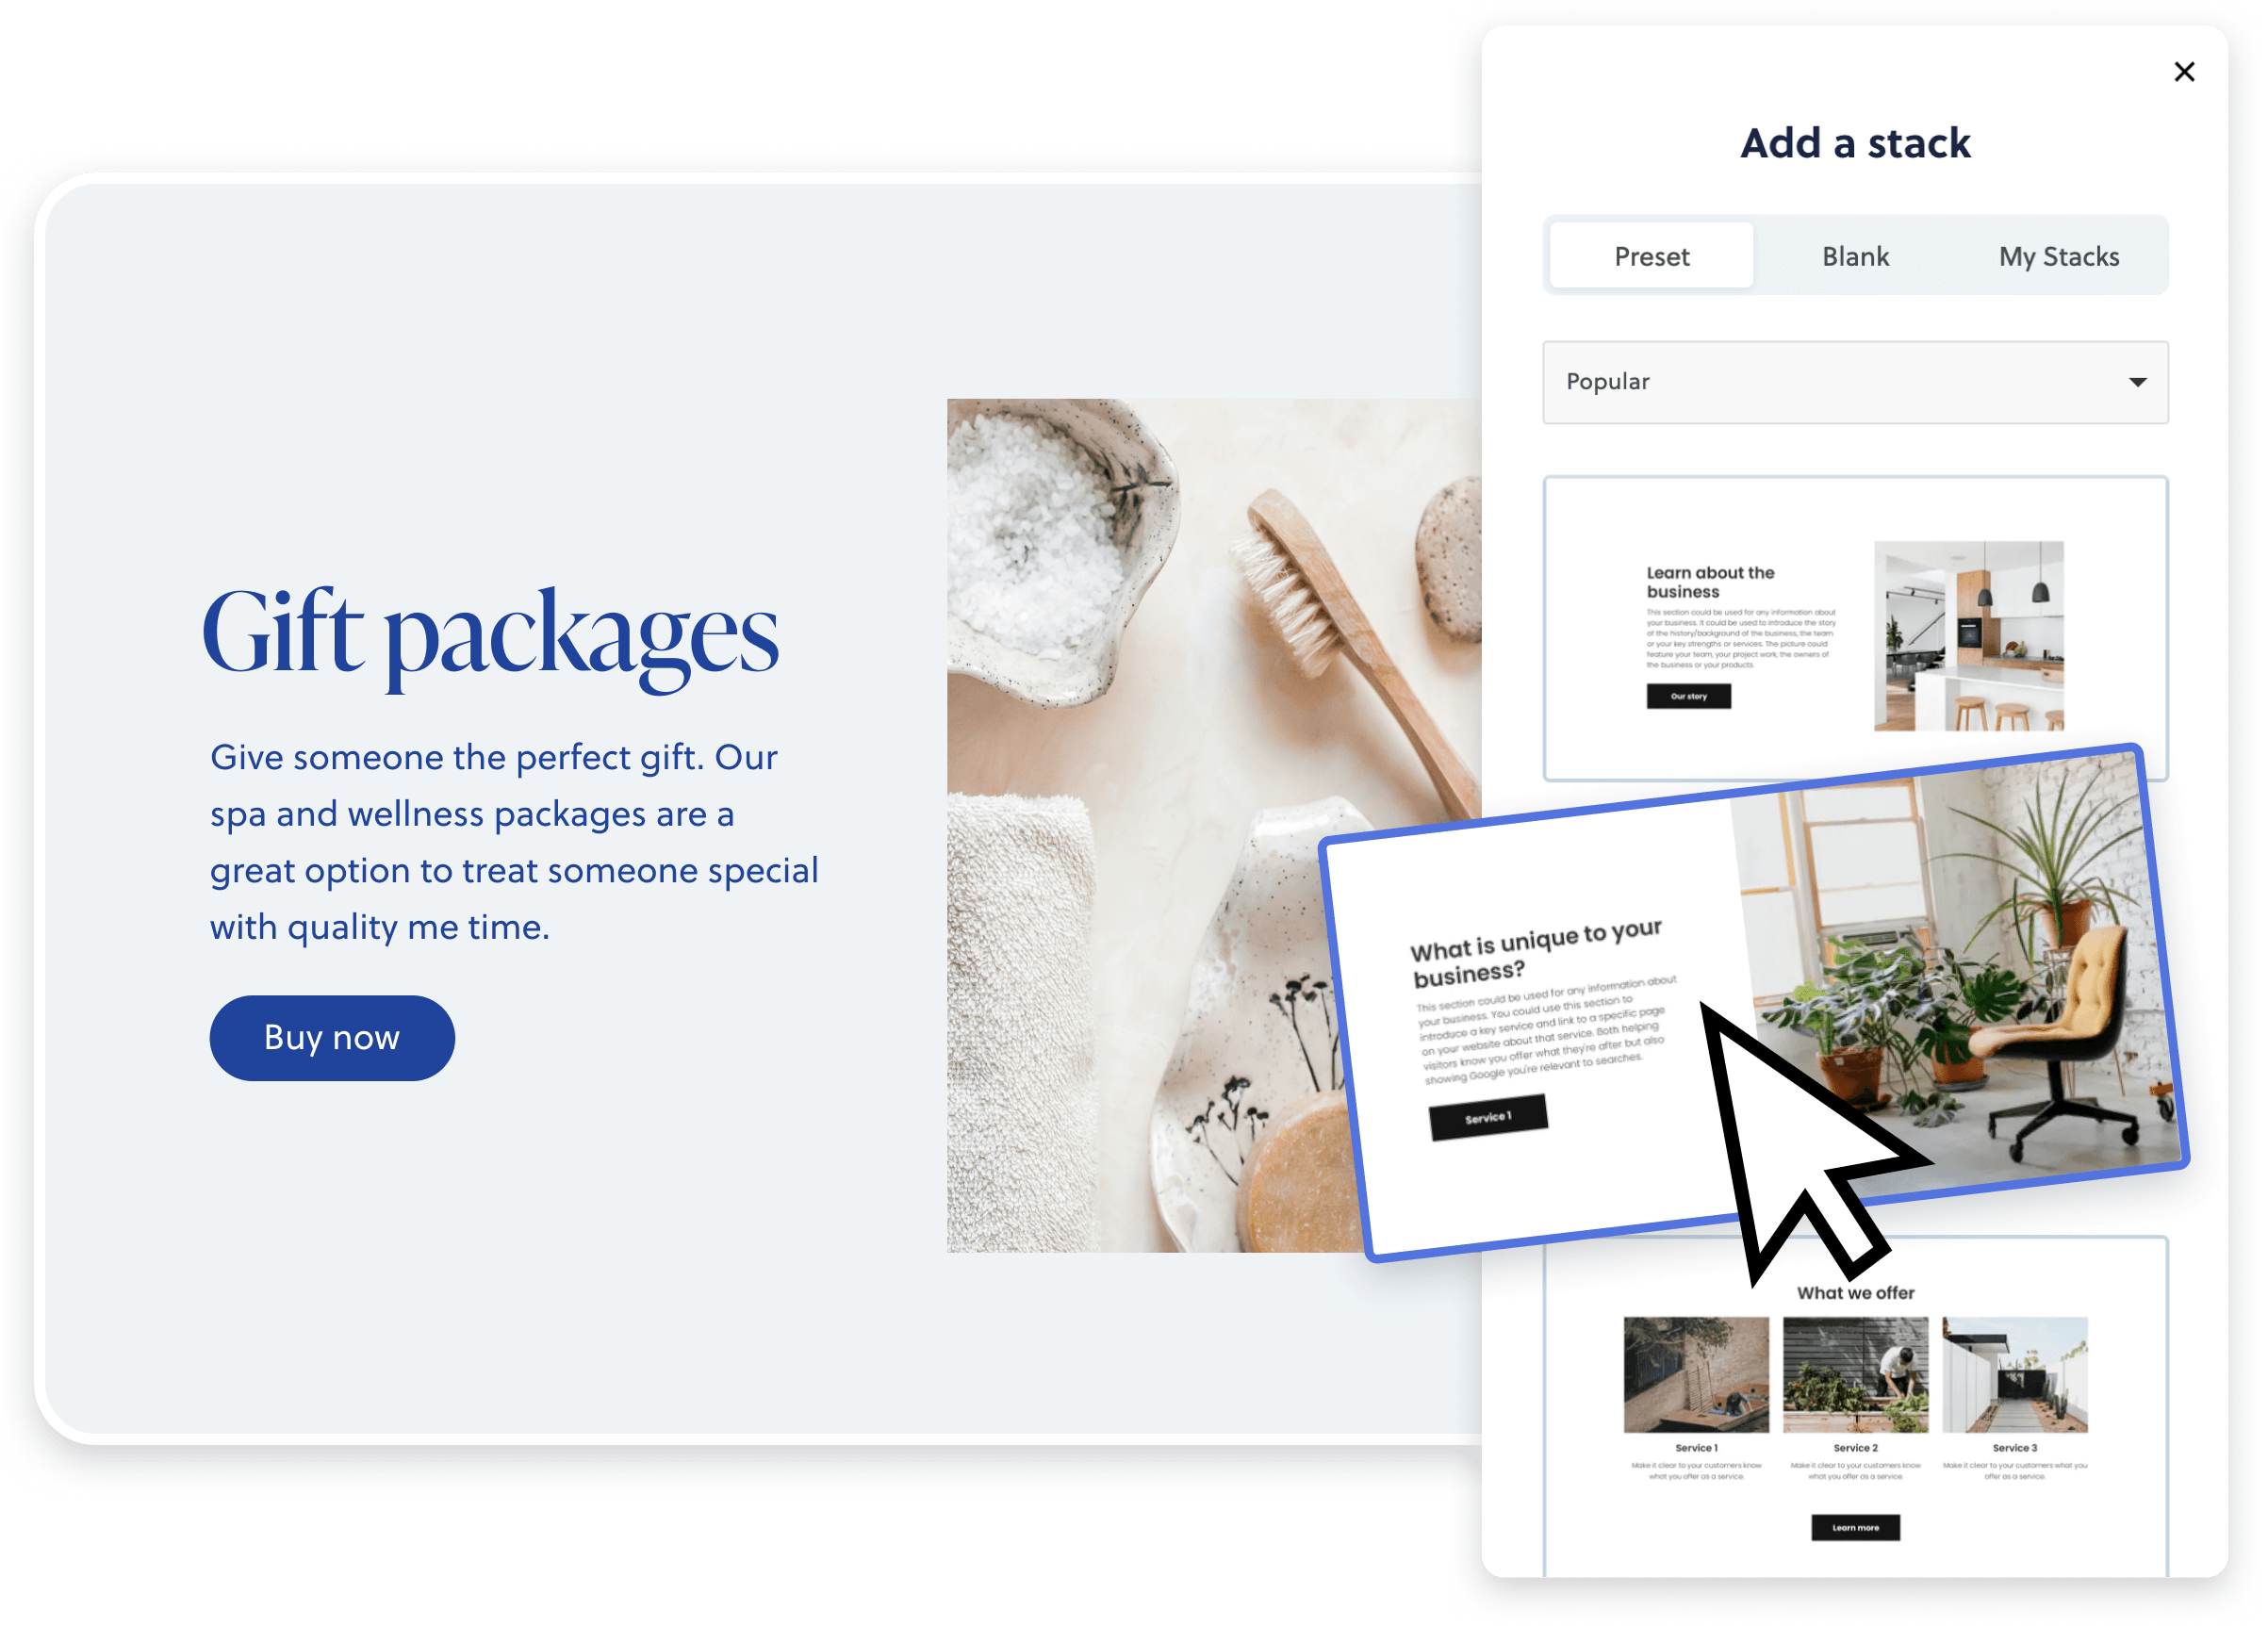
Stacks: your building blocks
Templates are just the beginning:
Don't think of your template as a limit. It's your starting line and easy to change.
Preset stacks are like building blocks:
Preset stacks are your new best friends. These pre-designed sections are like building blocks. You can add, delete, and rearrange them to suit your brand's story.
Coach Carlos says: Here’s how to add preset stacks.
Say cheese! Your guide to nailing photos on your site
🧀 🧀 🧀
Jeremy’s advice:Pro photos are the unsung hero of awesome websites! If your budget allows, snagging some professional shots can make your DIY site look anything but homemade. Trust us, this little touch can make a world of difference! 📸🌟
📸 Pro Photographer vs. DIY:
- Pro photographer: Sure, it's a bit pricey, but you'll get stunning, top-notch shots.
- Take your own photos: Saves money, but might lack a professional touch.
Maximising Outcomes:
- If you go Pro, share your brand story with the photographer, so they get the vibe right.
- If you go DIY, use natural lighting and keep your camera steady—tripods are your friend!
Coach Carlos says:Check out our post about “How to pick the perfect photographer”
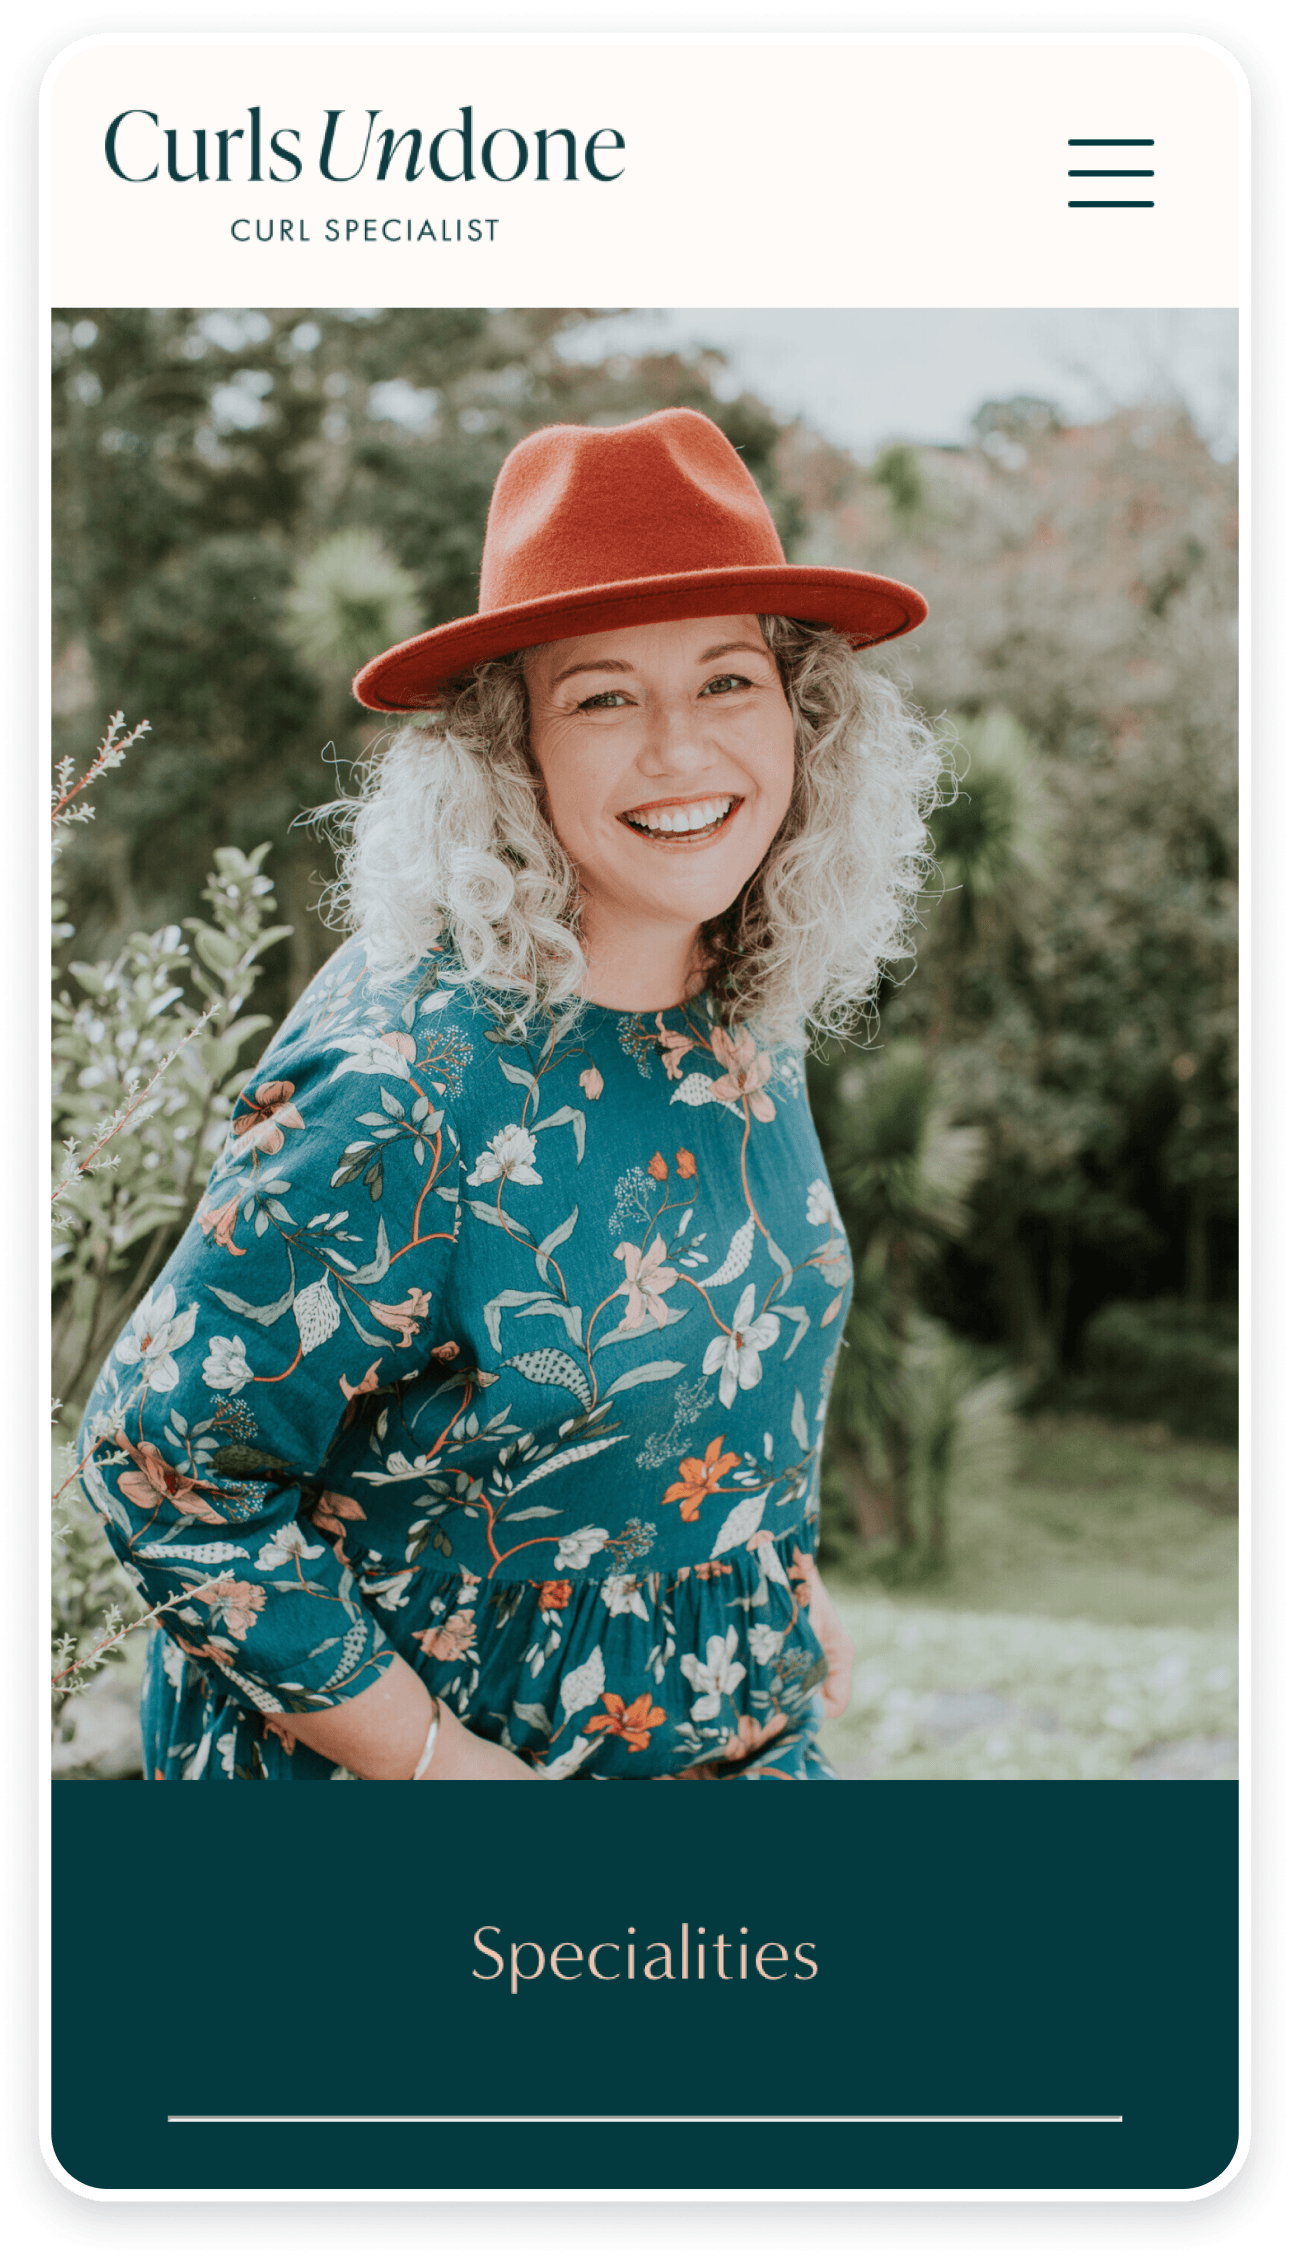
Putting a face to the name
Jeremy’s advice: Between you and me, most people just throw up any old pic on their site and call it a day. This is your chance to really stand out and show you've got your act together. Trust me, the right photos can make all the difference. 🤫 📸 ✨
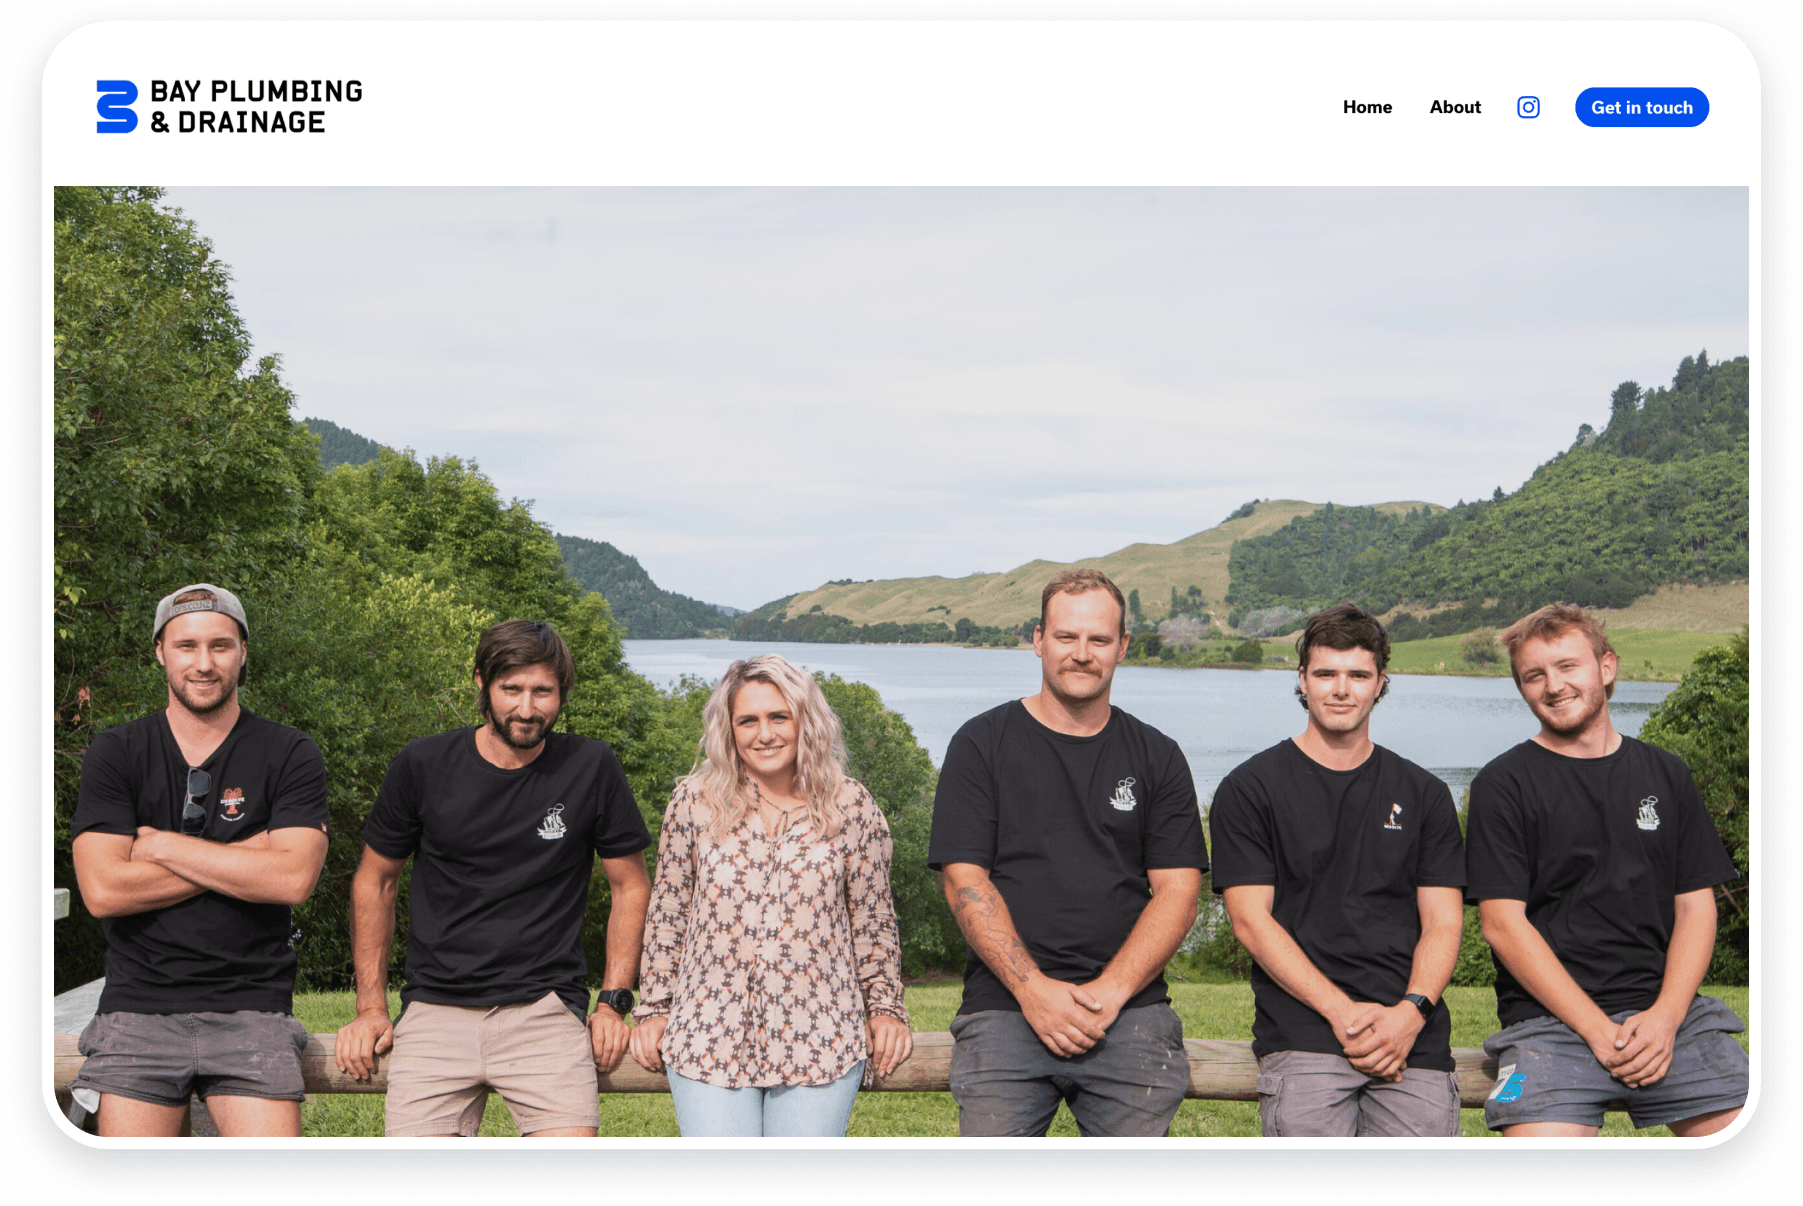
Show your people
If your team's a bit camera shy, no worries! Just remember, people love connecting with real people. A couple of genuine staff snaps can really resonate.

Show personality
Don those quirky socks or show off your office pup—let your uniqueness shine! When you show what makes you unique, it's easier for people to connect with you.
More than just a team shot
Yeah, a distant group pic says, "Hey, we're a team!", but it lacks the personal touch. Get in there, close up and comfy.

Ditch the stock images
Stock photos are like the ten pin bowling shoes of website design. They’re not really yours and they feel weird. Get photos that represent you and what you're all about.
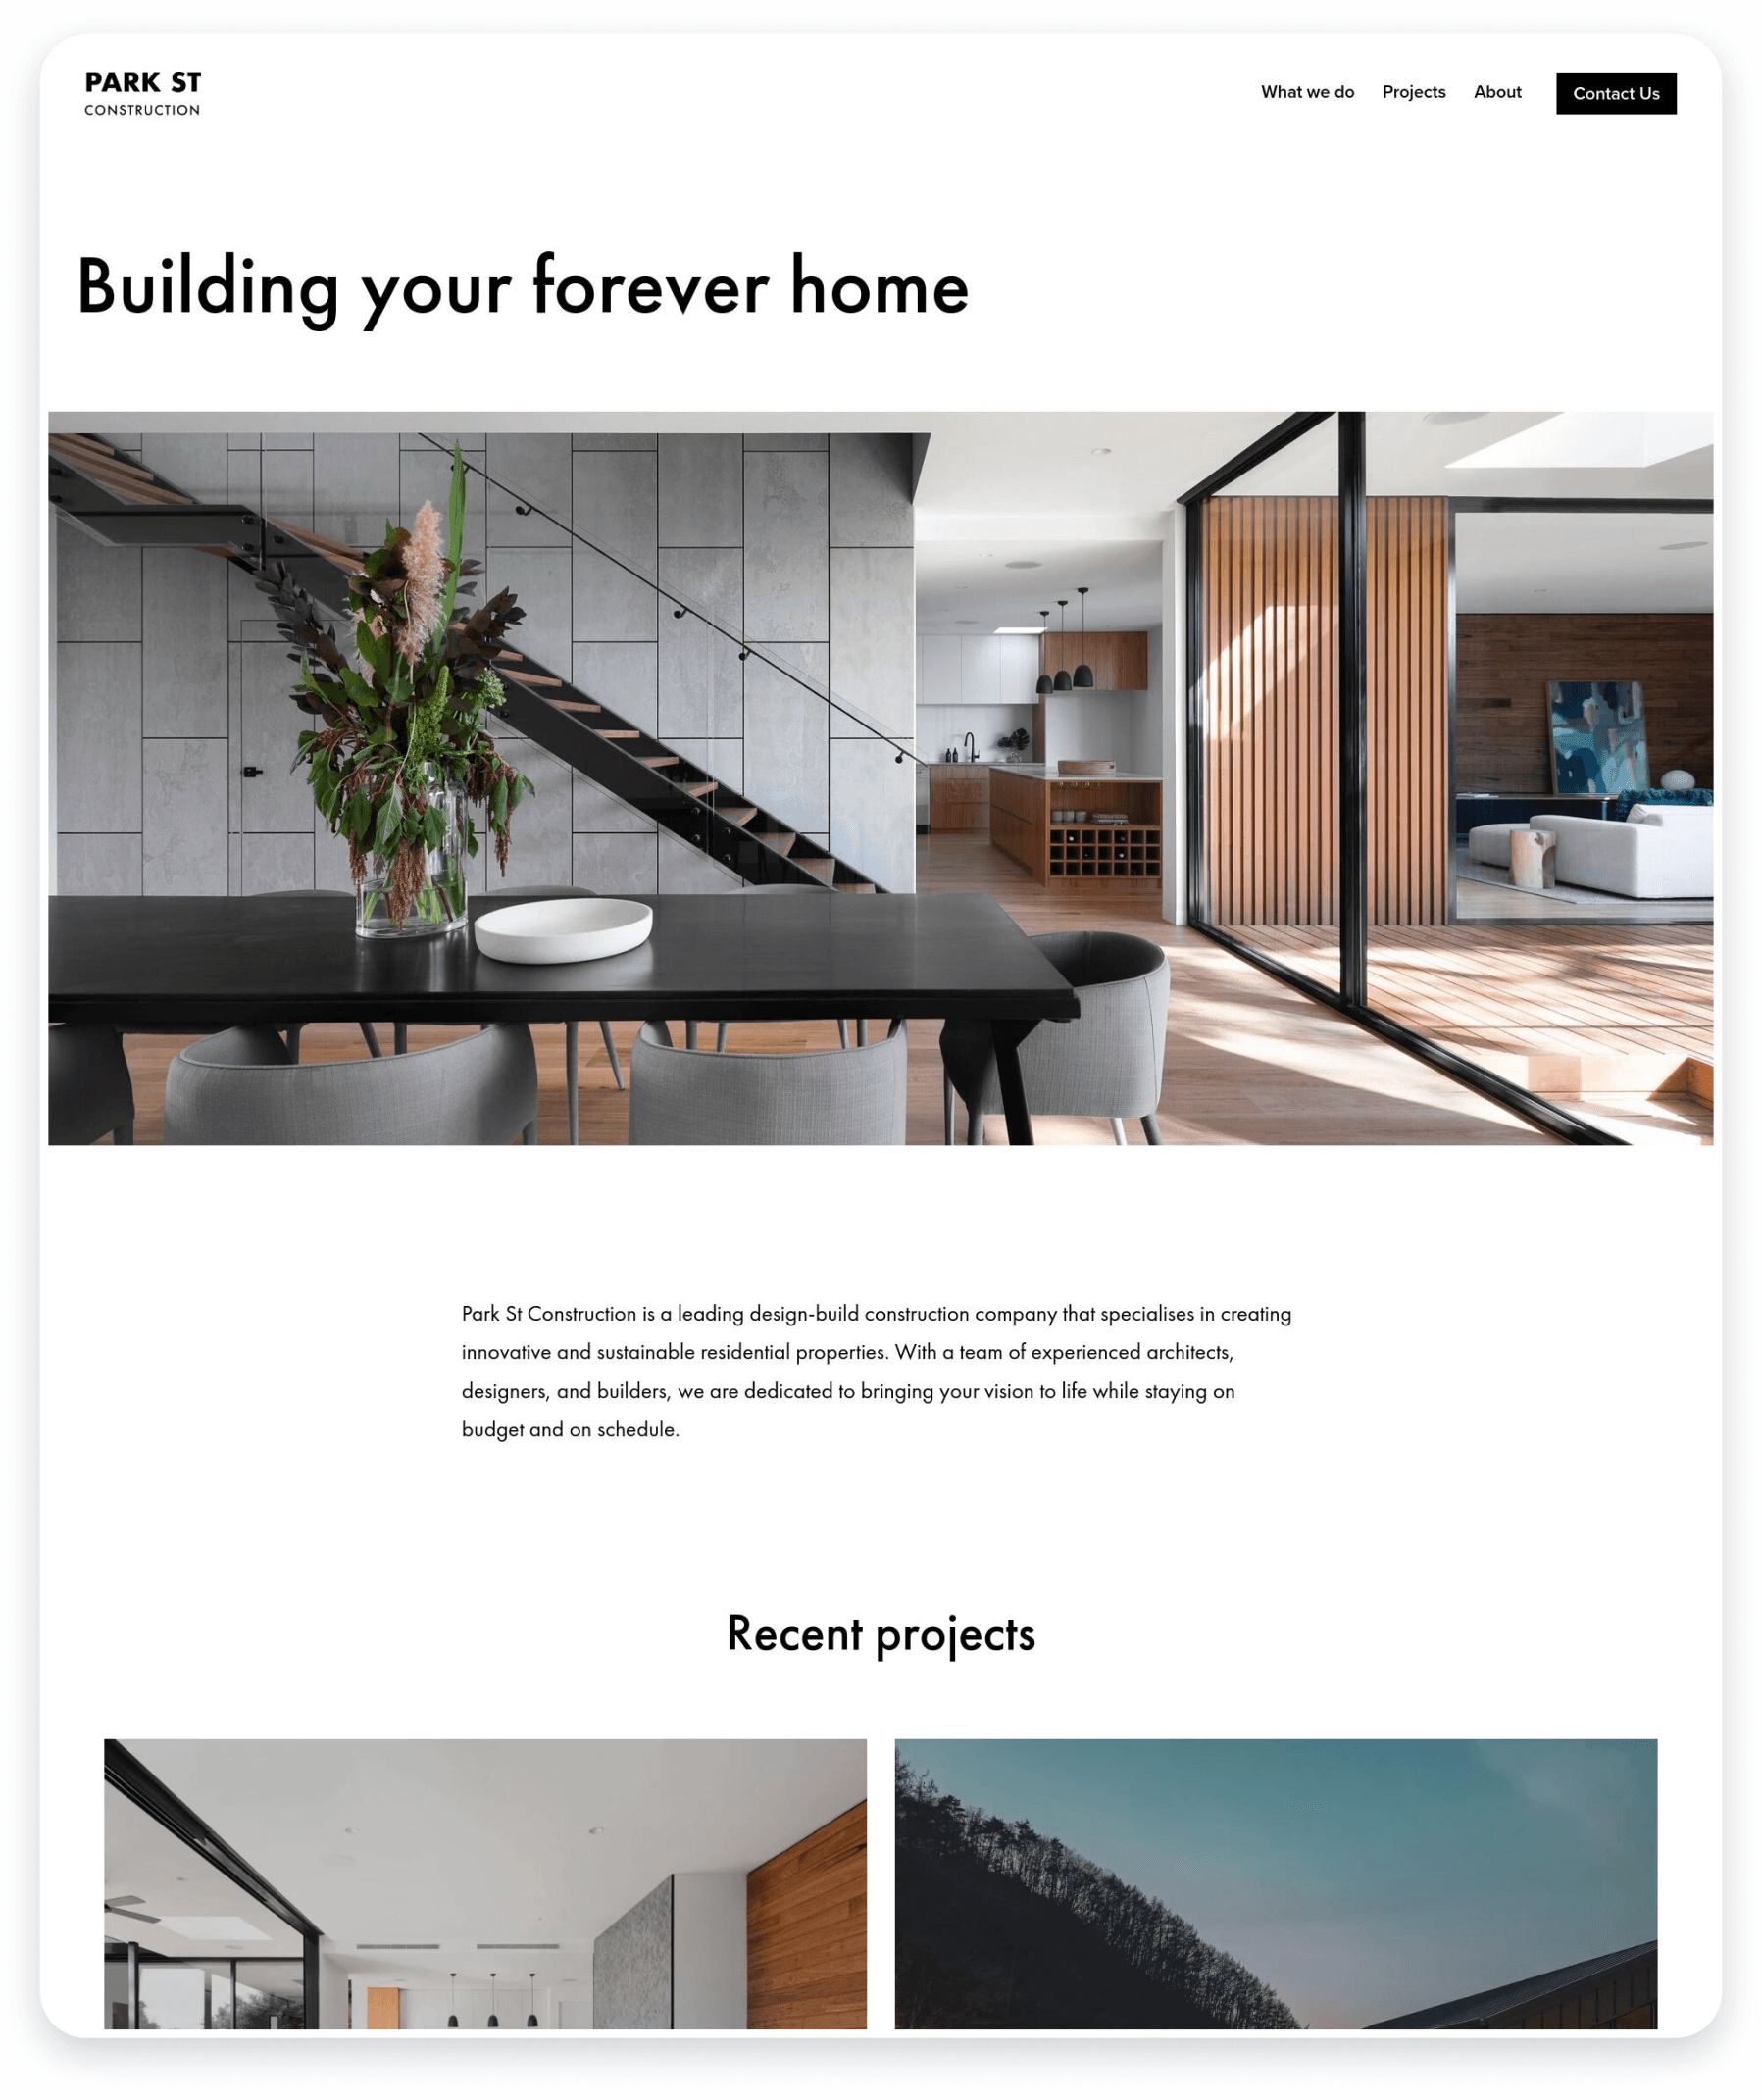
Good quality: the clearer the better
Think of images as the shop front of your business. Low-res images are like a foggy window. Sharp, high-res photos help you appear more professional and trustworthy.
How big should my pics be?
Aim for a sweet spot between 1MB and 5MB. We’ll take care of resizing them for zippy loading. But if you’re all about speed, maybe skip those 18MB whoppers.

Selling services: Build trust through images 📸✨
Feature real-life project photos, glowing testimonials from happy customers, and shots of your signwritten vehicles or premises to level up your trust game.
Selling physical products 🛍️✨
Curate a mix of crystal-clear product shots and lifestyle photos that place your products in real-world settings. Need more tips? Check out our blog post for tips on retail photos.
Words that woo:
make every word count 📝✨
Keep it short and snappy
Long blocks of text are like long speeches—people tune out. Use bullet points or add visual breaks to make it skimmable.
Coach Carlos Says:
Break it into smaller chunks. Use bullet points, sub-headings, and short paragraphs.
Great headings for skim readers
Headings should grab attention and make sense even if people don’t read the text below them—because there’s a good chance they’ll skim read.
Jeremy’s design take:
Don't beat around the bush—get to the point and make it compelling. Short headings also look great in your design.
Persuasive text
You're not just informing, you're convincing. Every sentence should nudge the visitor closer to saying, "Yes, I want this."
Coach Carlos Says:
Ah, persuasive text! It's like your website's saying, "Hey, you won't regret this!".
And there you have it! Designing your home page is totally doable. Jump in and give it a whirl. But remember, if you hit a snag or just want to tap out, we can match you with a designer who'll bring your vision to life. 🎨
Ready to give it a try? Let’s get you logged in and giving it a go! You're not going at it alone—we're right here with ya when you need us! 🤝
Cheers to creating something amazing—can't wait to see what you come up with!
